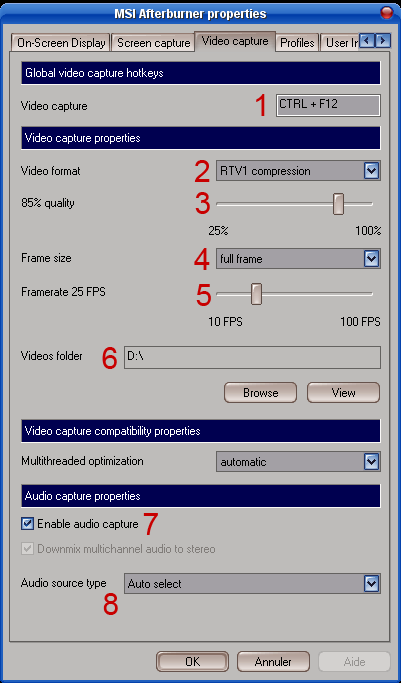
Tutorial : how to configure MSI Afterburner for capturing videos games sessions with audio, in maximum quality with minimum slow-down. MSI Afterburner allows many other possibilities, which I did not mention in this tutorial. To sum it directly use the hardware graphics chips (GPU, nvidia and others) associated with a home encoder "Riva Tuner Video" (RTV1) 7 times faster than the MJPEG , it allowing capture in "full frame" in real time with very low cpu load and without lags ! Fraps is far behind at all levels.
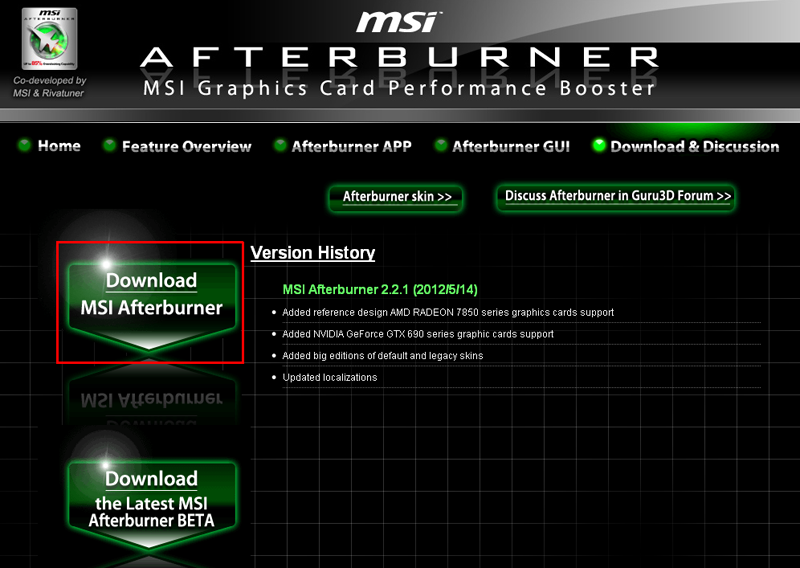
Click in the red box area here to download. Download finished, launch the setup.
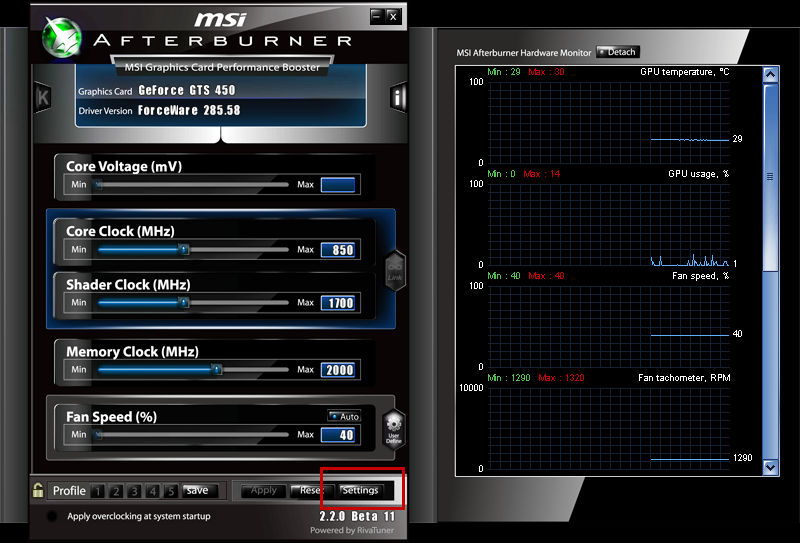
2nd Step launch MSI Afterburner :
3rd Step configure MSI Afterburner : Click the arrows at the
top right for going to the Video Capture tab.
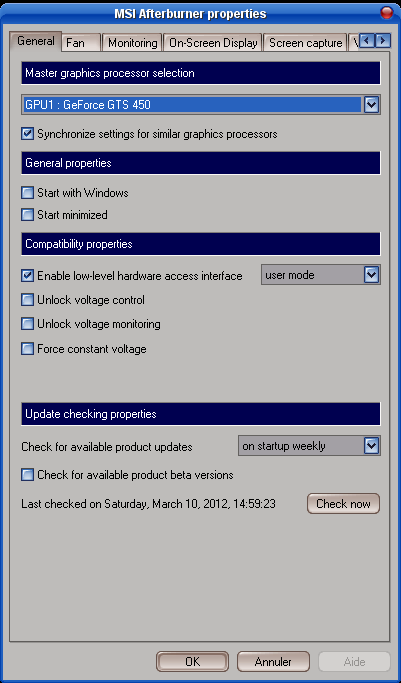
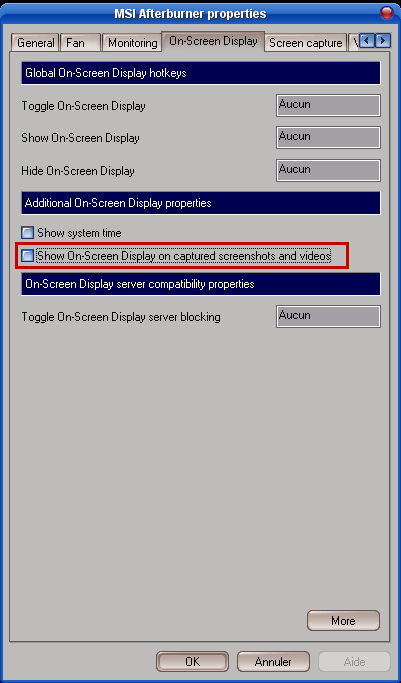
Click the On-Screen Display tab.
All this do now click OK OK to technical messages.
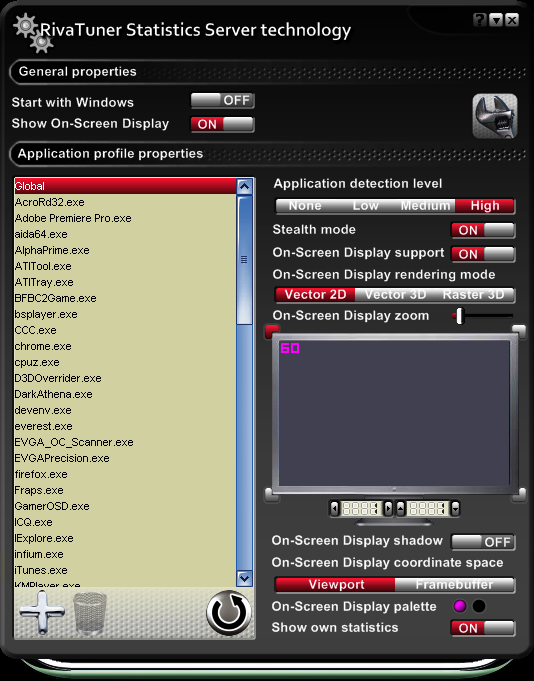
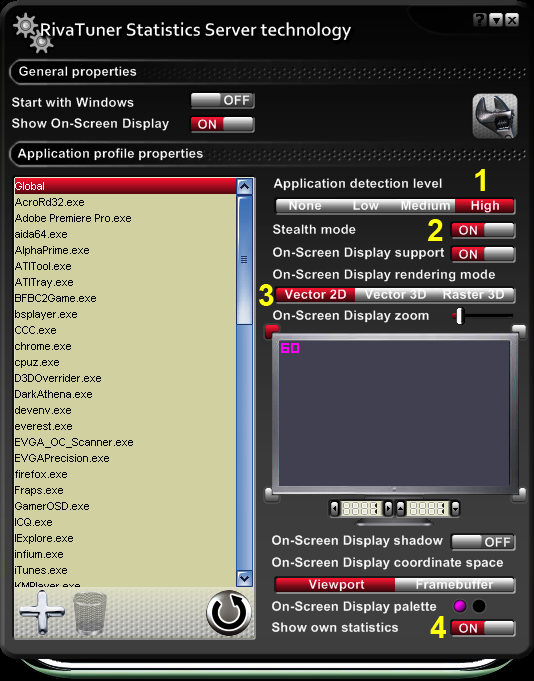
4th Step configure RivaTuner panel :
The " Show own statistics"
allow in capture to see the technical information, such as the "frame
rate" (number of frames per second) and the good progress of
recording.
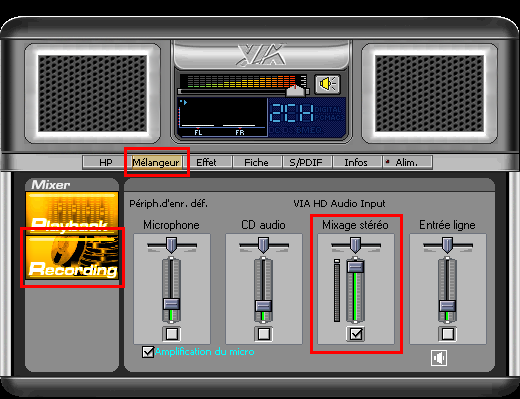
5th Step verify
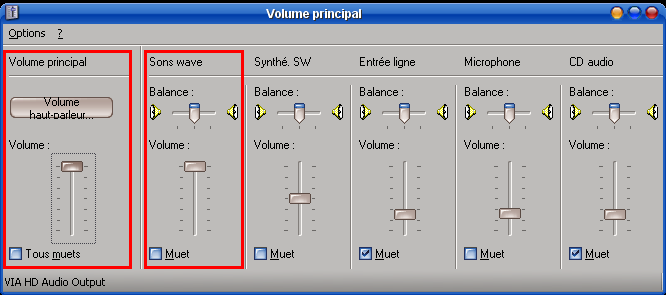
your audio configuration system : The logic is to configure the card / chip to record audio mix, not the microphone or line input ! This example here I click Mixer, Recording and then I chose Stereo Mix, and I put the maximum level. (This is a limiter it amplify nothing.) But that's not enough we must also control the levels of the audio mix. Launch the audio mixer of Windows. CAUTION
before touching the audio mixer of Windows put at MINIMUM your audio
amp, stereo box, PC speaker, headphones, etc. MINIMUM!!
With Windows
XP here is what its look like : ATTENTION TO YOUR EARS AND YOUR AMPS!
6th Step launch
the recording ! BONUS :
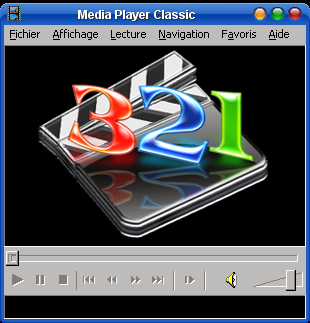
For playing your videos I guidance to use this media player
Greetings to everyone,
gamers, geeks, youtuber, etc... -=( AMOTRAX )=- PS : screen capture realized with Crystal Amotrax Theme on a French Windows XP freely available for all versions of Windows XP, on any language.
|